Franklin Towne Systems
- How to register on our Wiki
- Classlink- Accessing FTCES Resources
- Resetting Passwords Through Teacher Console
- iReady
- Mosyle
- ClassLink
- Goguardian
How to register on our Wiki
The Wiki's debut on our new Domain. That means, single-sign-on is not yet configured. In order to safe keep the information, we place all sensitive, specific content behind login access.
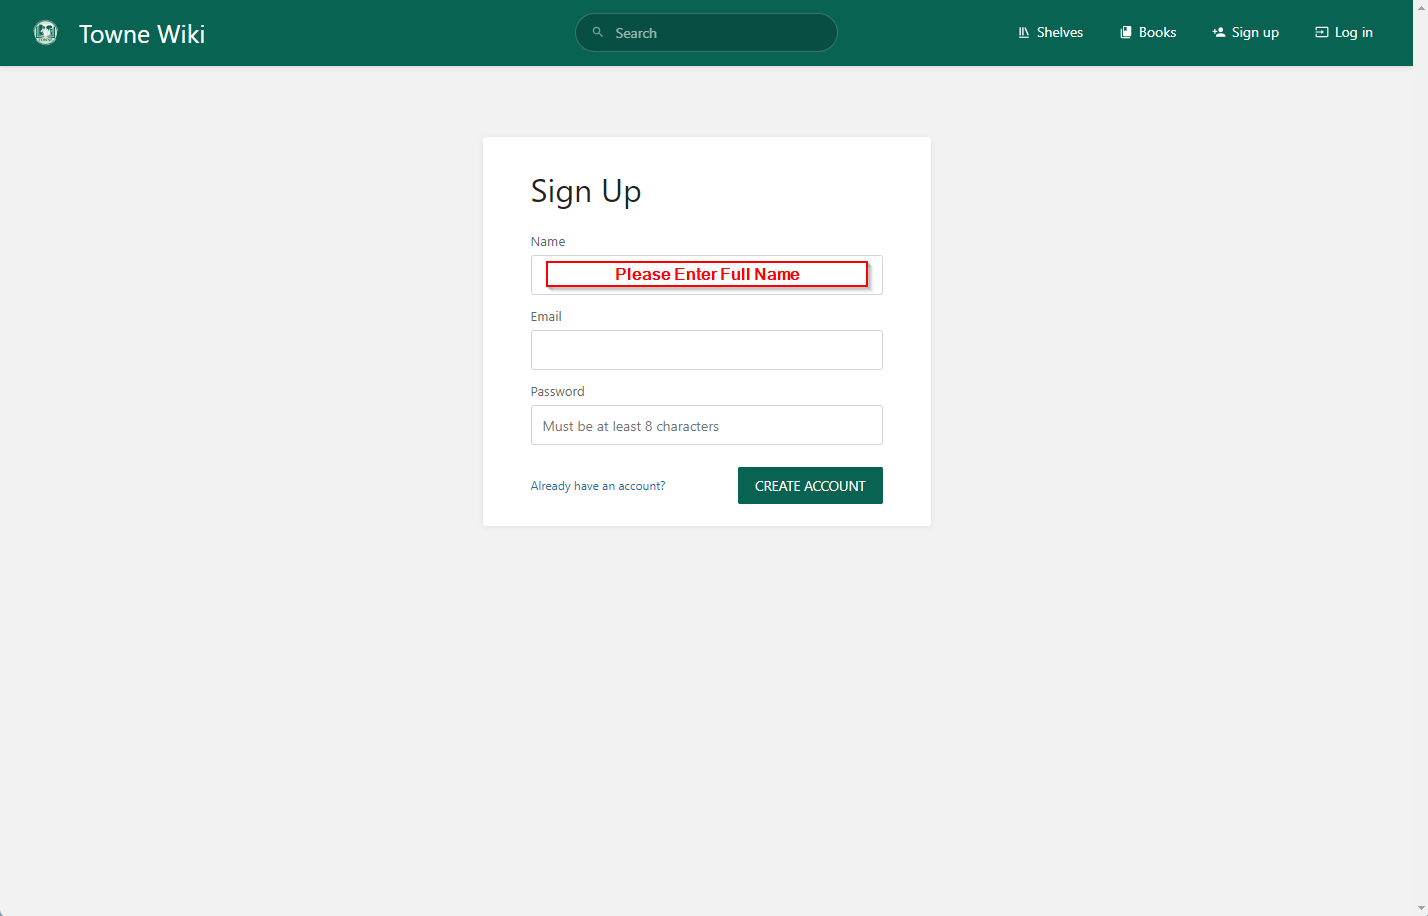
The Registration Steps are as follows:

Step 3 Fill out all Fields and Enter a safe password
Step 4 Click "Create Account"
You will be thanked after registering. You may see an error display on the top right. You should still be able to login with the new credentials.
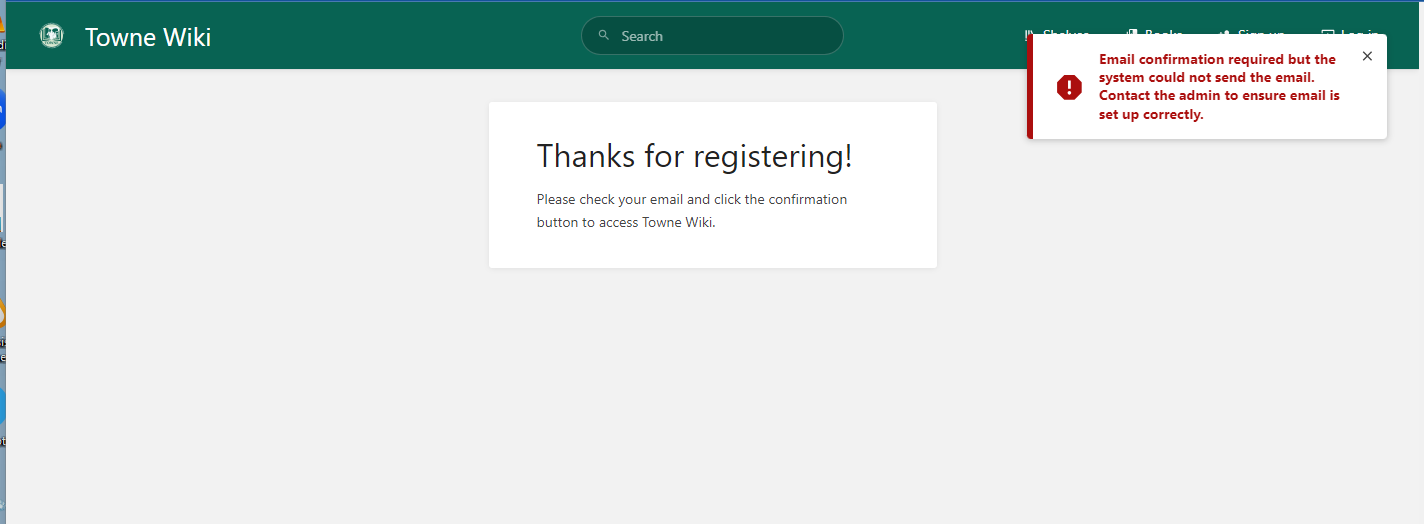
If anyone has difficulty creating an account or logging in, please submit a ticket to the Helpdesk
Classlink- Accessing FTCES Resources
Staff and Students
Franklin Towne Charter Elementary School uses ClassLink, a single sign-on platform that will allow teachers and students to use one username and password to access everything they need. Single sign-on is an essential tool for productive remote and onsite learning, and ClassLink will serve as your child’s home base for education, whether it’s in the classroom or on the couch at home. ClassLink can be accessed from either a computer or mobile device.
ClassLink is a safe and secure way to ensure your child has access to everything needed for continued learning. We want you to know our software never collects or shares any personal student information.
All the applications you use, in one convenient location.

ClassLink login:
https://launchpad.classlink.com/franklintowneces
STUDENTS
Please use your login name and password, e.g. if your email is john.smith@ftces.net, then your login name is john.smith
Video showing the login process
STAFF
Your e-mail comprises or your first name's initial followed by your last name like:
jsmith@towne.org
Help your child get started by going here
ClassLink connects to more than 6,000 digital learning resources, including publishers, reference providers, supplemental products, and learning management systems. There are thousands of single sign-on connectors available in ClassLink and more is being added every day.
- ClassLink Awards - https://www.classlink.com/company/awards
- ClassLink Partners - https://www.classlink.com/company/partners
- ClassLink Status - https://status.classlink.com/
Click here for setting up Password Recovery Options for Password Reset
Other ClassLink Resources:
ClassLink Quick Guide for Students
Classlink Quick Guide for Teachers
Resetting Passwords Through Teacher Console

If a student has lost or forgotten their password, the Teacher Console can be used for teachers to initiate the process to have students reset it for themselves.
-
To initiate the process for a student to change their password, go into the Teacher Console, Go to My Classes, click on the appropriate class, select the Students section, and then click the name of the student whose password you wish to reset.
-
In the menu that appears, click enter a temporary password for the student to use, then click the Reset button. On their next login, they will be prompted to enter their temporary password and then create a new password.
My Classes icon

Choose the appropriate class


iReady
How do I manage or add staff?
![]()
- Select Management from the top navigation. Rosters will be selected by default.
- Select Manage under Staff.
- To view and edit a staff member’s information:
3A. Select the + icon next to a name to expand the row. When expanded, it will change to a– icon. Select Edit Staff Information to change specific fields. Be sure to save your changes.
To add a staff member:
3B. Select Add Staff from the Actions dropdown. Make sure to click the arrow after each step to move forward! - Input the relevant Staff information.
- Use the check boxes to select Classes and the arrows to add or remove them from the staff member’s enrollment.
- If relevant, use the check boxes to select Report Groups and the arrows to add or remove them from the staff member’s enrollment.
- Select Save & Close.

Mosyle
How do I integrate SAML with Mosyle?
Setup SAML for Integration
1) Login to your Identity Provider and start the SAML integration. This may look different depending on each provider.
2) Enter the Mosyle Metadata (or click here to download)
- Entity ID: https://myschool.mosyle.com/
- Assertion Consumer Service:
- Mosyle Auth login: https://myschool.mosyle.com/ssoapp/adfs.php
- Web Panel or App Single Sign-On: https://myschool.mosyle.com/sso/index.php?acs
- Logout URL: https://myschool.mosyle.com/
3) Map the attributes expected by Mosyle to values in your Identity Provider
- userfullname = Username, etc.
- uid = Username, User ID, Email Prefix, etc.
- mail = Email, etc.
4) Enter the Metadata for your Identity Provider
5) Upload the Identity Provider Certificate
6) Click Save
ClassLink
Setting-up Azure Entra with Classlink
Notes
This is an all or none type of configuration. Once enabled all users of the domain will be redirected to Launchpad for authentication in all Microsoft applications. Users previously Authenticated to Office 365/Entra ID (Azure AD) may need to reauthenticate their desktop applications. Office365 Administrator accounts will not be affected by this workflow.
Prerequisites
- Authenticate to LaunchPad with AD (technically could be Google as well but unlikely)
-
- District’s Azure user profile must contain an ImmutableI
- If the district uses Azure AD Connect, it’s handled
- If the district enters users manually, it’s handled
- If the district uses OneSync for Azure, it can be handled in the configuration
-
- Add Verified Domain to Entra ID (Azure AD)
- Do not make it primary.
- Install MSOnline PowerShell module
Install-Module MSOnline - Install Azure Active Directory Connect and configure it – Do not federate via this method.
- Active Directory should be connected in launchpad under settings > domain gear icon
- Active Directory Groups should be imported into launchpad
Step 1
1. In the Classlink tenant SAML Console, Create a new SAML configuration by copying existing and selecting “A New SAML App (template)”
2. Configure the following options.
- Metadata URL
- Loginurl with custom login, e.g. https://launchpad.classlink.com/<customurl>
- Attribute Mapping
- ▪ Select “Custom Attribute”
-
- Change name of the custom attribute to “IDPEmail”
- Add {email} in the data field
-
- MetaOverrides
- Logout Service URL (POST)
- NamedID Format
-
-
- Persistent
-
-
- NameID Custom Value
-
-
- {ldapguid:hexbase64}
-
-
- Save or Update
Step 2
- Copy the metadata URL and modify the PowerShell Script below
- Use this PowerShell Script, change the file extension to “.ps1” after downloading - You may need to unblock the file and change your execution policy on the server
Azure AD PowerShell Code
<#
.SYNOPSIS
    Federate Microsoft Entra ID (Azure AD/Microsoft Online Services) to ClassLink for IdP Services.

    Change the <GUID> in the $idpMetadataUrl to be the GUID from your SAML console App.
    Change $DomainName to match your domain name that is going to be Federated
    Change the script extension to ".ps1"

    *NOTE: you may need to set the PowerShell Execution Policy to remote signed or bypass temporarily.

#>

Install-Module -Name MSOnline
Import-Module MSOnline

$idpMetadataUrl = "https://idp.classlink.com/sso/metadata/<GUID>"

$DomainName = "<your domain name>"
$metadataxml = [Xml](Invoke-WebRequest -Uri $idpMetadataUrl -ContentType "application/xml").content

$cert = -join $metadataxml.EntityDescriptor.IDPSSODescriptor.KeyDescriptor.KeyInfo.X509Data.X509Certificate.Split()
$issuerUri = $metadataxml.EntityDescriptor.entityID
$logOnUri = $metadataxml.EntityDescriptor.IDPSSODescriptor.SingleSignOnService | ? { $_.Binding.Contains('Redirect') } | % { $_.Location }
$LogOffUri = $metadataxml.EntityDescriptor.IDPSSODescriptor.SingleLogoutService | ? { $_.Binding.Contains('Redirect') } | % { $_.Location }
$brand = "ClassLink Identity"
Connect-MsolService
$DomainAuthParams = @{
    DomainName = $DomainName
    Authentication = "Federated"
    IssuerUri = $issuerUri
    FederationBrandName = $brand
    ActiveLogOnUri = $logOnUri
    PassiveLogOnUri = $logOnUri
    LogOffUri = $LogOffUri
    SigningCertificate = $cert
    PreferredAuthenticationProtocol = "SAMLP"
}

Set-MsolDomainAuthentication @DomainAuthParams
If you receive an error regarding scripts being disabled Open an elevated PowerShell prompt Type the following:
set-executionpolicy remotesigned -force
This will allow local PowerShell scripts to run
● If you use an account that is being federated (using the custom domain instead of an onmicrosoft.com domain) https://portal.azure.com should redirect you to https://launchpad.classlink.com/<customurl> for login from now on, along with any other Microsoft Service
Step 3:
● Make sure you have break-glass accounts within Microsoft in case something happens.
○ https://learn.microsoft.com/en-us/azure/active-directory/roles/security-emergency-acc ess
Revert to Entra ID (Azure AD) Managed Authentication
Open PowerShell
- Run the command
- Connect-MsolService
After authenticating to your Entra ID (Azure AD) Tenant
Run the command:
  Set-MsolDomainAuthentication -authentication managed -domainName
<domainname>
Replace <domainname> with your domain you wish to remove federation
Classlink LTI v1.3 (OIDC) SSO Information
Dear Vendor,
Our school is going to add your app as an LTI v1.3 SSO app through ClassLink. Please provide me with the following information:
· ClientID (generated in the Partner Portal)
· OIDC Login Initiation URL
· Target Link URL
· LTI Message Type (default is LtiResourceLinkRequest)
· Person SourcedID
· Role
· With PII
· Any Input Fields that I would need
Here is information about our school system and ClassLink:
· The OpenID Connect (OIDC) discovery endpoint is https://launchpad.classlink.com/.well-known/openid-configuration
· The OIDC discovery endpoint contains the following:
o Issuer ID: https://launchpad.classlink.com
o OIDC URL: https://launchpad.classlink/com/oauth2/v2/auth
o JWKS URL: https://launchpad.classlink/com/oauth2/v2/jwks
· Our SchoolDeployment ID (Tenant ID) is xxxx. (Not all vendors require a Deployment ID, but it's best to include it in case it is needed.)
Thank you so much for your help with this,
Insert Your Name and Contact Information
Goguardian
Allowing-Access-to-Blocked-sites-for-Students
https://support.goguardian.com/s/article/Allowing-Access-to-Blocked-sites-for-Students-1629762287605
Teachers can immediately unblock a website blocked by Scenes and update their Scene to allow the website for their entire class.
Please note: for websites blocked by GoGuardian Admin, it may be necessary to contact an administrator or member of your IT department for assistance. For a reference on the different types of block pages, please refer to the following article on Types of GoGuardian Block Pages.
Step 1
From a student's tile experiencing the block, click the Unblock for class button.

Step 2
On the "Confirm Scene Update" interface, click the Update Scene button. This workflow allows you to add an allow rule for the blocked URL directly to your current Scene. Doing so will unblock the blocked site and prevent future blocks for the same site.
Please note that only the Scene's owner (whoever originally created the Scene) will be able to use the Unblock for class option.

Note: If students continue to experience trouble accessing the site that was added, please have them try performing a chrome restart on their device. To do this, have the student type chrome://restart into the address bar and press enter.
How to Create and Apply a Scene
What are Scenes?
Scenes give teachers access to custom web-filtering rules during their GoGuardian Teacher class sessions. Scenes can be used to block distracting and inappropriate websites, or simply limit students to the websites they need for class. Scenes can also be used to Auto-Open select websites, and limit students to a maximum number of open tabs at once.
https://support.goguardian.com/s/article/How-to-Create-and-Apply-a-Scene-1630428661756
Creating a Scene
Start by clicking the Scenes tab in the left column. On the main, Scenes page click Create List on either an Allowed Websites List, or a Blocked Websites List.
An Allowed Websites List, or "Allow Mode Scene" allows teachers to limit students to only the websites on the allow list. All websites and webpages that aren't explicitly allowed by the allow list will be blocked.
A Blocked Websites List, or "Block Mode Scene" will block all websites added to the list. All websites that are not added to the block list will be allowed.
Customize the Scene and Add Block / Allow Rules
After creating a Scene, customize the Scene by adding a name and, (optional) a color and description. Click Next to move on.
Please note: we'll be using an Allowed Websites List in this example.
On the following page, enter websites or individual webpages that you'd like to add and click Search. GoGuardian will search for the entered resource and provide options, suggestions, and recommendations of related websites to add.
Click Add on the website(s) you would like to add.
*Pro tip* adding websites vs. website paths and individual webpages.
Scenes allow teachers to add in full websites, individual website paths and individual webpages. Students will then be blocked or allowed access to the entire website, or only the specified part of the website based on the type of Scene used.
Allow Mode Scene Example:
Full Website Allow: allowing Nationalgeographic.com will allow access to National Geographic, and all pages within National Geographic, such as nationalgeographic.com/history.
Website Path Allow: Adding only Nationalgeographic.com/animals will only allow access to the 'animals' path of National Geographic's website; the main website and other website paths on National Geographic would be blocked.
Individual Webpage Allow: finally, adding Nationalgeographic.com/animals/endangered-salamanders will only allow access to that individual webpage.
Please note that the same, yet opposite functionality applies for Block Mode Scenes for blocking full websites vs. only blocking specific website paths or individual pages.
Edit Scenes, Scene Options, and Sharing Scenes
Each created Scene (found in the Scenes section) can be edited at anytime by clicking the 3 dot, "kebab" menu in the same row as the Scene's name.
Scene options include, Renaming, Making a Copy, Editing (adjusting the block or allow rules) Set as Default, and Share.
Applying a Scene
Scenes can only be used during active class sessions, and can be applied in one of two ways: manually, or by setting a Default Scene.
To apply a Scene manually, click the Scene Applied drop-down menu and choose from the available Scenes list. The actively applied Scene, if any, will always be listed at the top as seen in the following image.
Default Scenes can be used to automatically enable a selected Scene at the beginning of class. To set a Default Scene:
On the class Settings, under the Default Scene section, select a Default Scene from the drop-down menu and Update Classroom when finished.
Default Scene Tip * Important*
For teachers using automatically scheduled classes, please make sure to set a reminder to Archive your classroom at the end of the school, or remove the Default Scene. Automatically scheduled classes with a Default Scene attached can cause students to still be filtered even once the class has completed.
More Information and Scene Resources
For more information on using GoGuardian Teacher Scenes, including using auto-open tabs, setting tab limits, advanced filtering options and more, please refer to the following article on Using GoGuardian Teacher Scenes.
To learn about conflicting Scenes and how to resolve them, please refer to the following article on Using Scene Statuses.