Microsoft Office 365
- How to Open Blocked Files in Office
- How to Filter Email in Outlook
- How to give OneDrive access to another user
How to Open Blocked Files in Office
If you have upgraded to Office 2013, or Office 365, you may have run into problems opening files that have been emailed to you.
Exercise caution when unblocking Microsoft Office files due to recent security concerns. Malicious content may compromise system integrity. Verify file legitimacy before unblocking. Note that employees are fully responsible if the device is infected due to unblocking actions. Prioritize security measures for a safe digital environment.
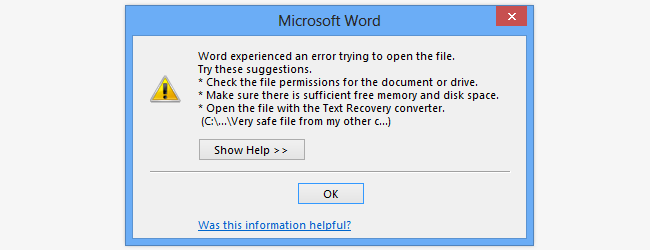
You may have run into problems opening files that have been emailed to you. Try to open a Word file you have received as an email attachment, and you are likely to find that Word not only refuses to open the files but fails to provide much in the way of help.
The reason the file cannot be opened is that it originated from a different computer, and for this very reason it is seen as a potential threat by Office. When you are dealing with files that have been emailed to you, or you have downloaded from the internet, this makes a degree of sense from a security point of view, but it is also extremely annoying.

The problem is exacerbated by the fact that files stored on a network drive or copied from other computers on your home network can also be affected if they have been archived. The absence of any helpful pointers to how you should go about opening the file in question could leave you pulling out your hair, but there are a couple of solutions.
Office 365 employs a similar technique to Internet Explorer to determine where files originated from, and this can lead to security issues.
Unblock Individual Files
This may be an issue that you don’t encounter all that often, so the best plan of attack to start with is to unblock files on an individual basis.
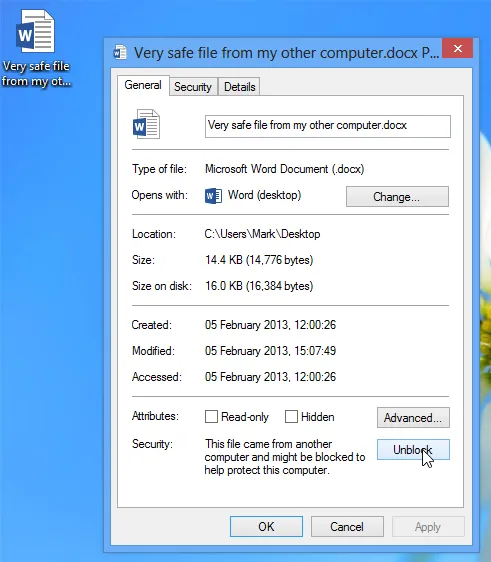
Right-click a file that has been block by Office and select Properties from the context menu. On the General tab, click the Unblock button at the bottom of the dialog and then click OK. The next time you double-click the file it will open as you would expect.
How to Filter Email in Outlook

Is your Outlook inbox so unorganized that you can't find what you're looking for? Fortunately, it's easy to filter messages into different folders based on email address (sender or receiver), words, and phrases in any version of Outlook, including Microsoft Outlook 365. We'll show you how to create rules in Outlook to automatically filter incoming email messages, plus how to sort your existing emails.
Method 1
Filtering by Email Address
- For example, if you want to filter all mail sent from one email address, click an email from that sender.
- If you want to filter messages sent to one of your email addresses, click a message addressed to that address.

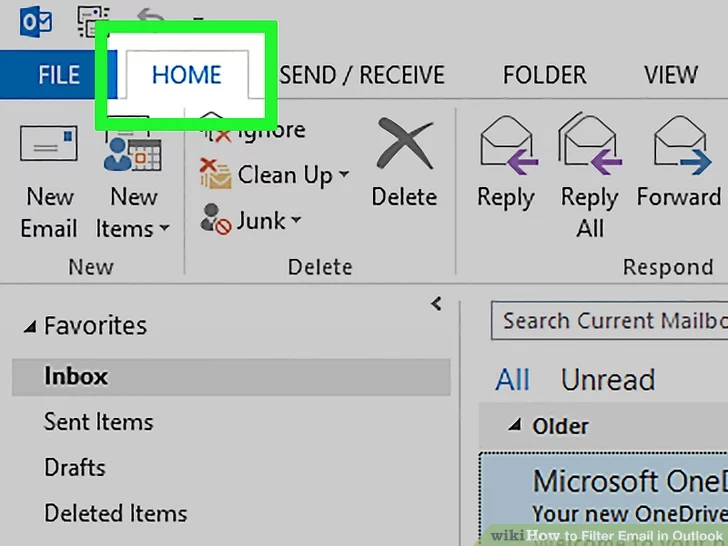
2 Click the Home tab. It’s near the top-left corner of the window.

- If you don't see this option, click the three dots at the far-right corner of the toolbar.
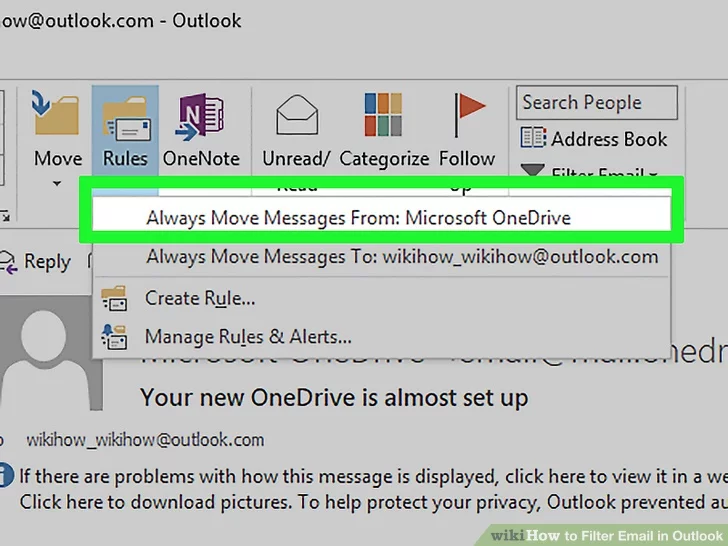
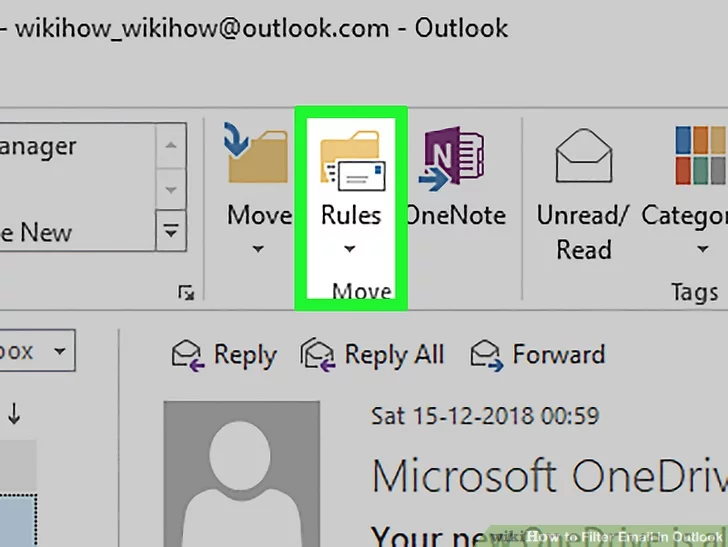
- You can also right-click a message or folder and select Rules

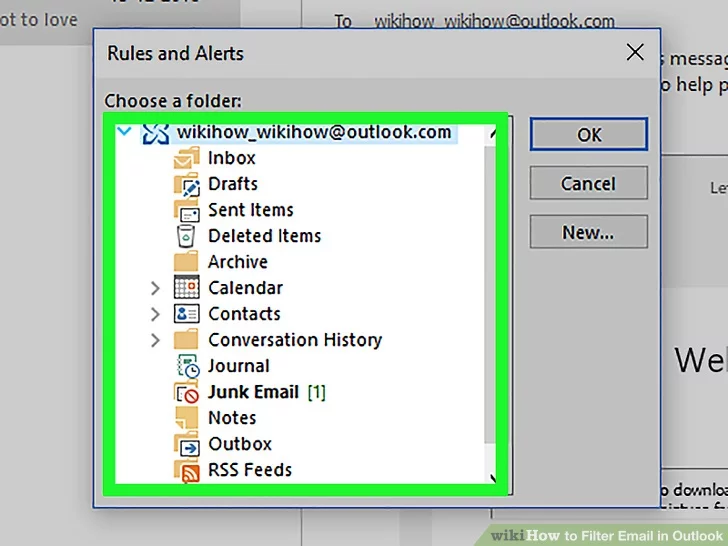
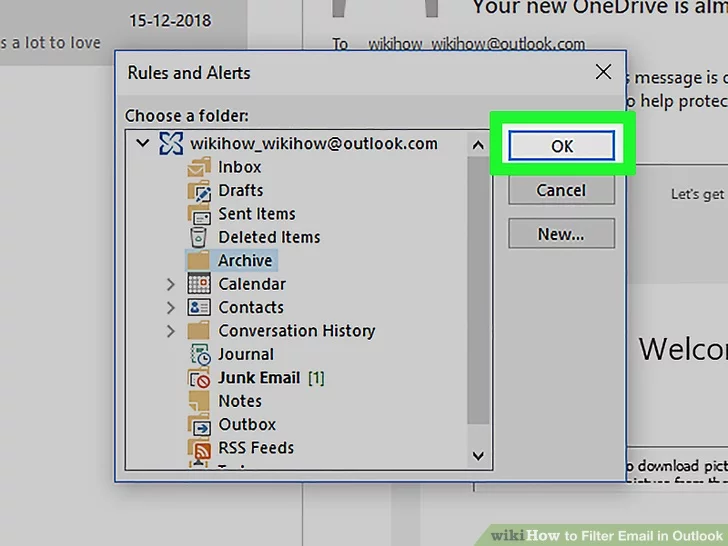
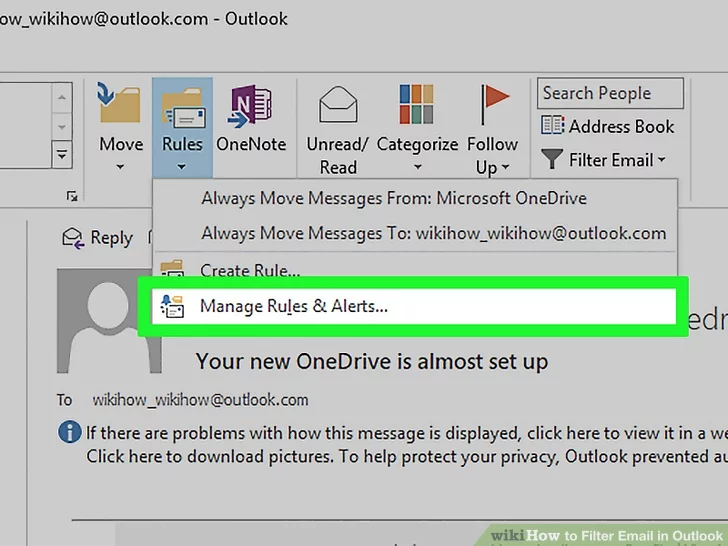
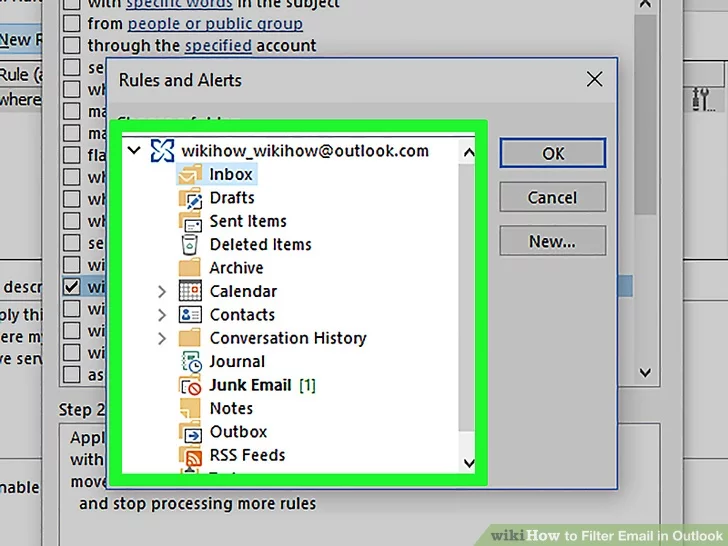
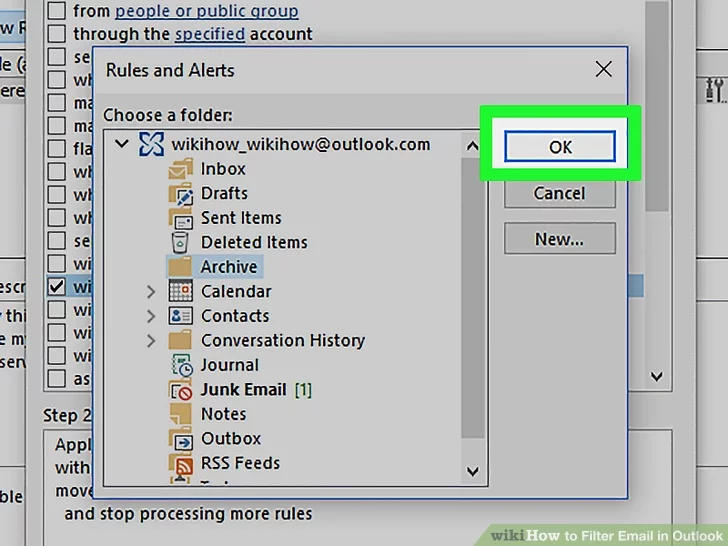
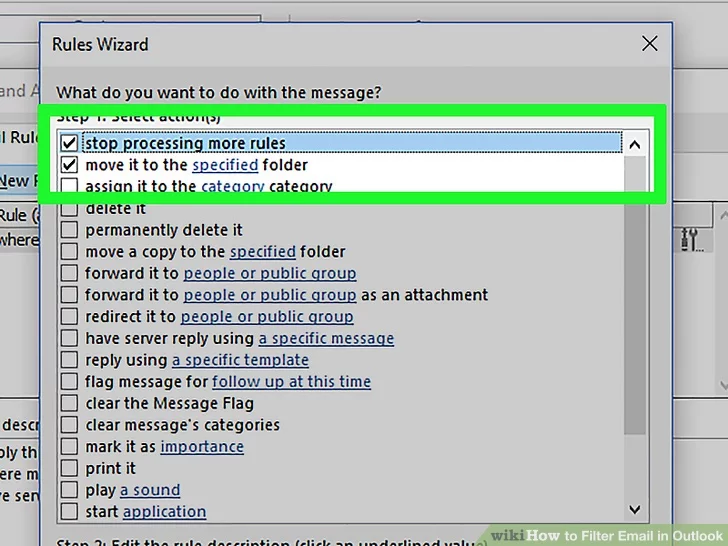
4 Click Always Move Messages From <sender> or Always Move Messages To <address>. A list of folders on your account will appear.
Method 2
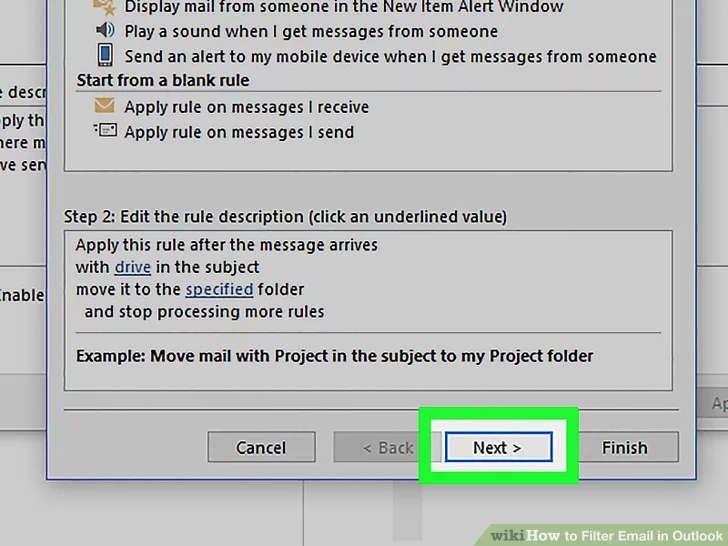
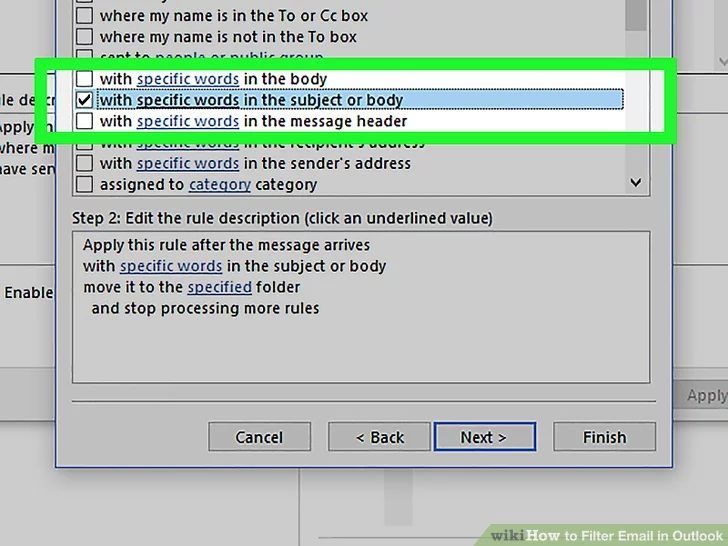
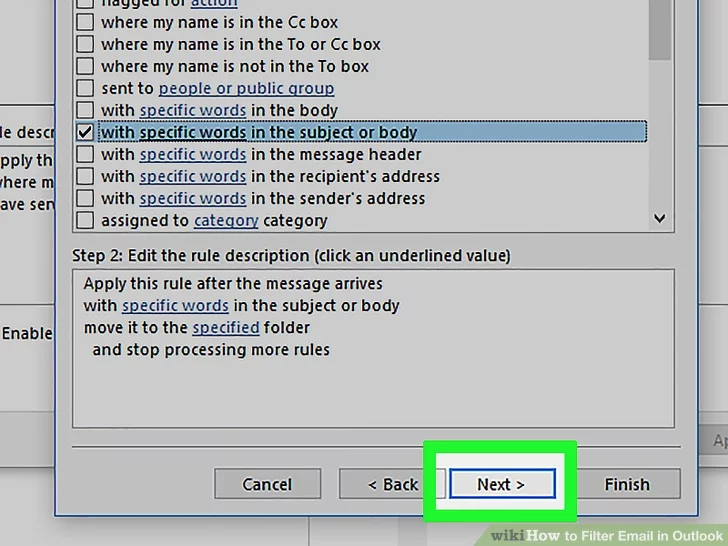
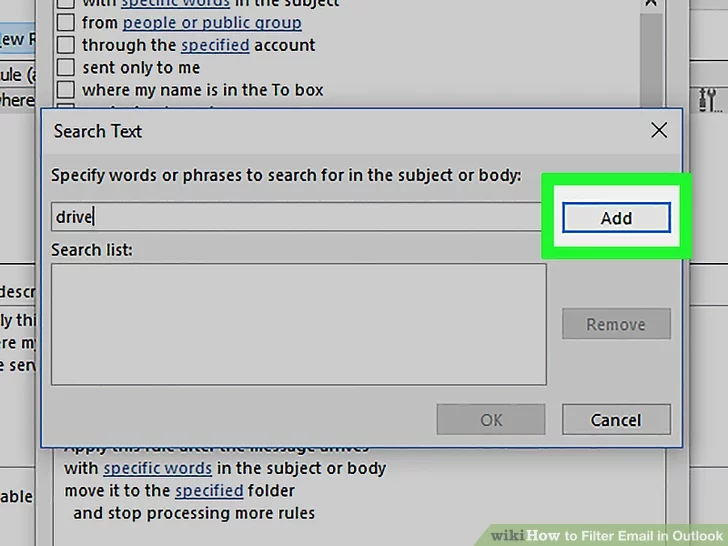
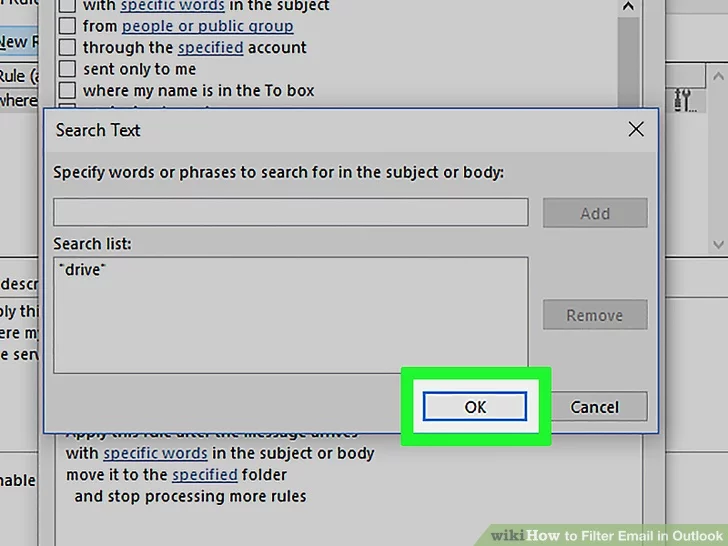
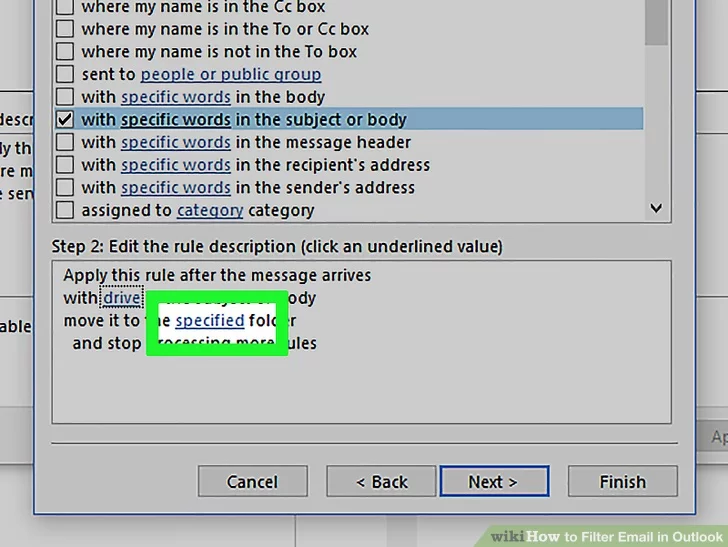
Filtering by Words

- If you don't see this option, click the three dots at the far-right corner of the toolbar.
- You can also right-click a message or folder and select Rules.

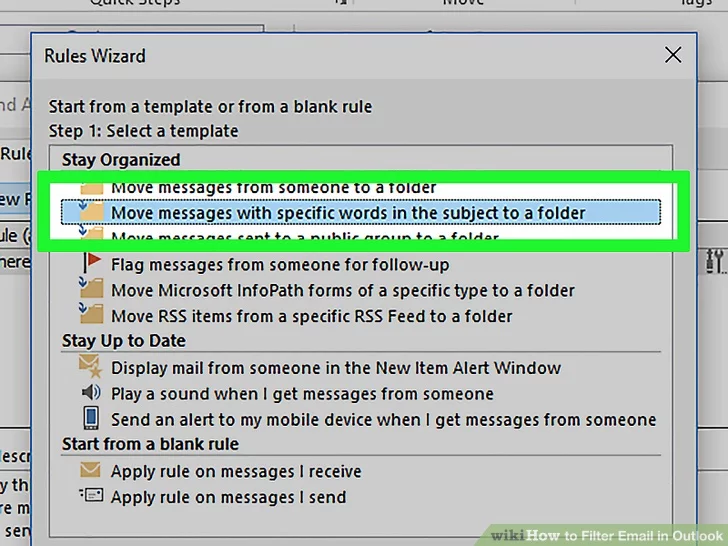
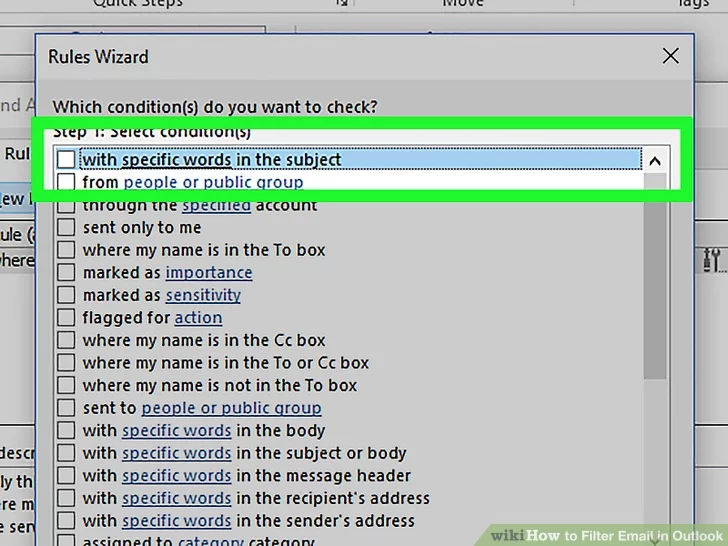
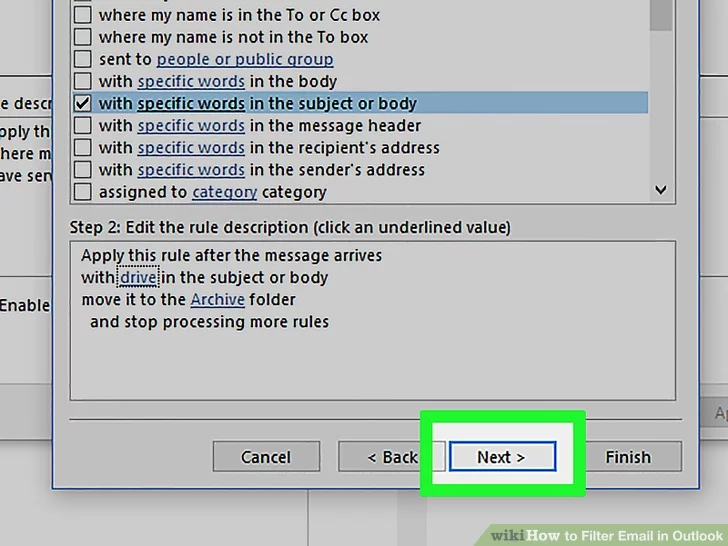
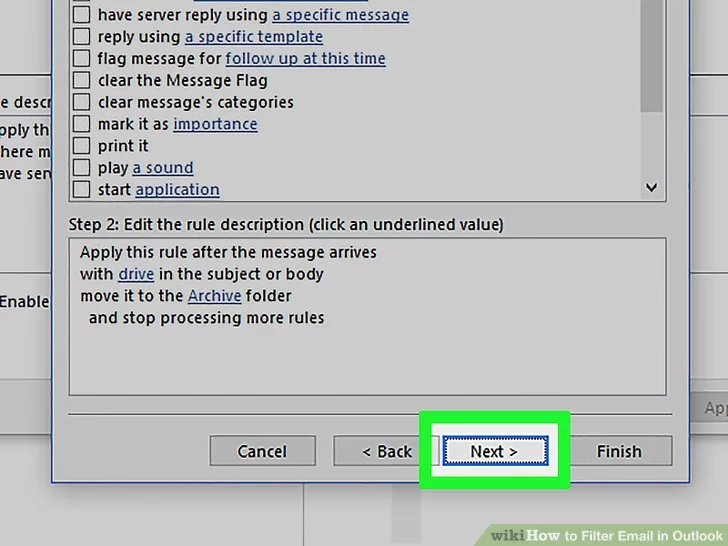
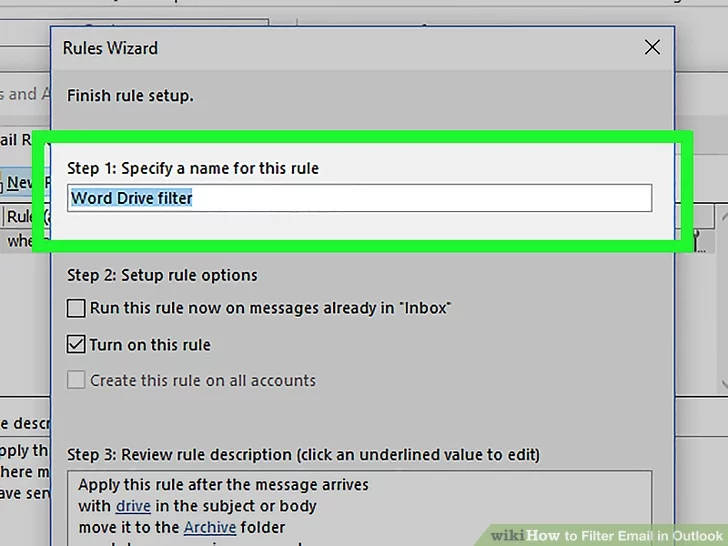
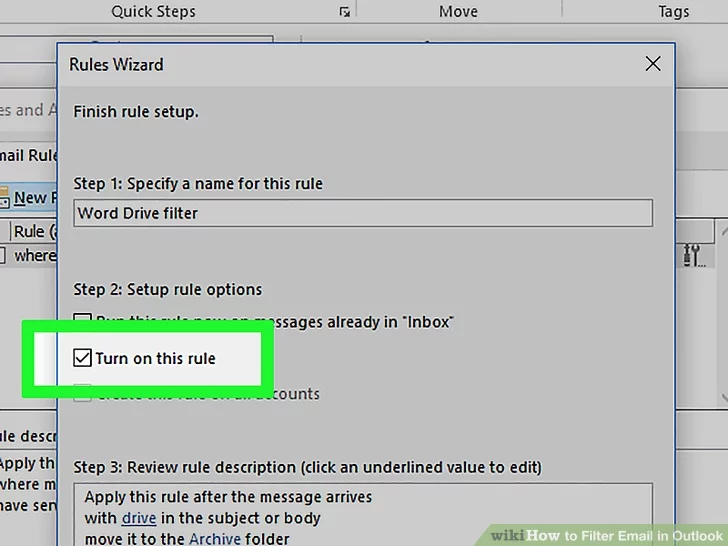
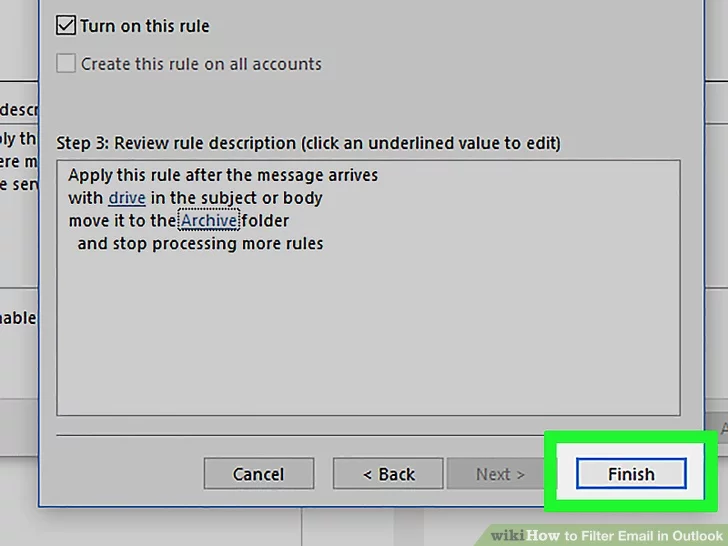
- with specific words in the subject or body
- Example: You want to filter messages with the word “coupon” in either the subject or the body to a folder called Coupons.
- with specific words in the message header
- Example: You want messages sent through a certain mail server to go straight to the trash.
- with specific words in the recipient’s address
- Example: You want mail sent to support@yourdomain.com to go to a folder called Support.
- with specific words in the sender’s address
- Example: You want messages sent from anyone with the word “wiki” in their email address to a folder called Wiki.
Method 3
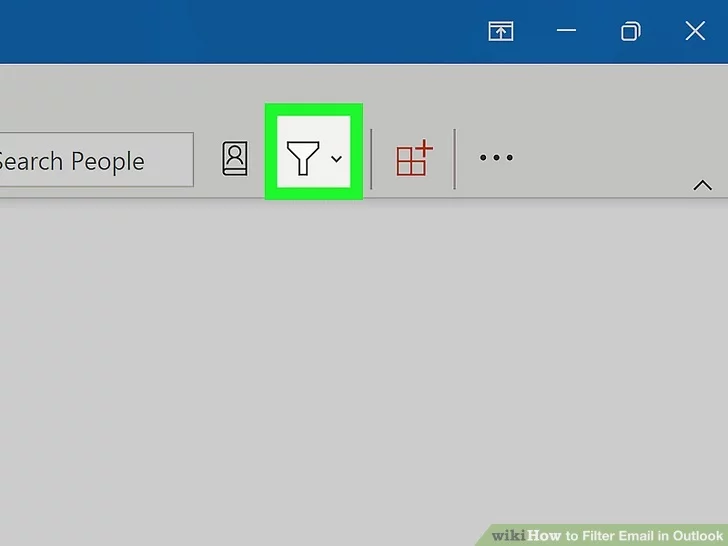
Sorting Your Outlook Inbox
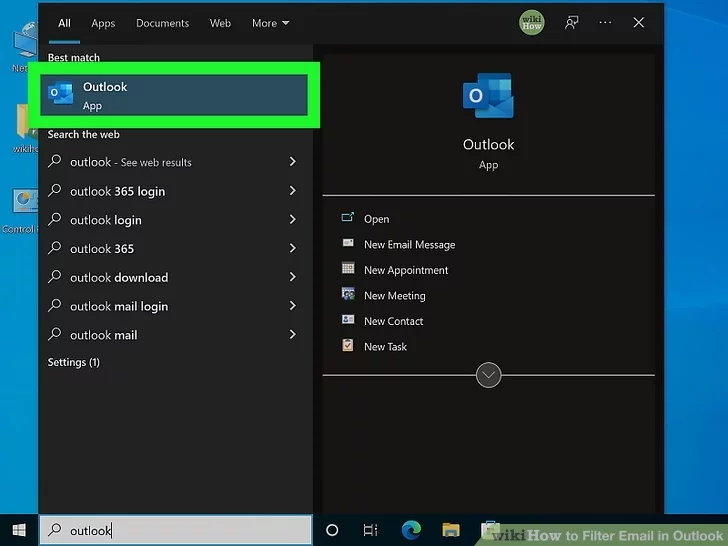
1 Open Microsoft Outlook. It’s usually in the Microsoft Office folder, which you’ll find in the All Apps area of the Start menu.
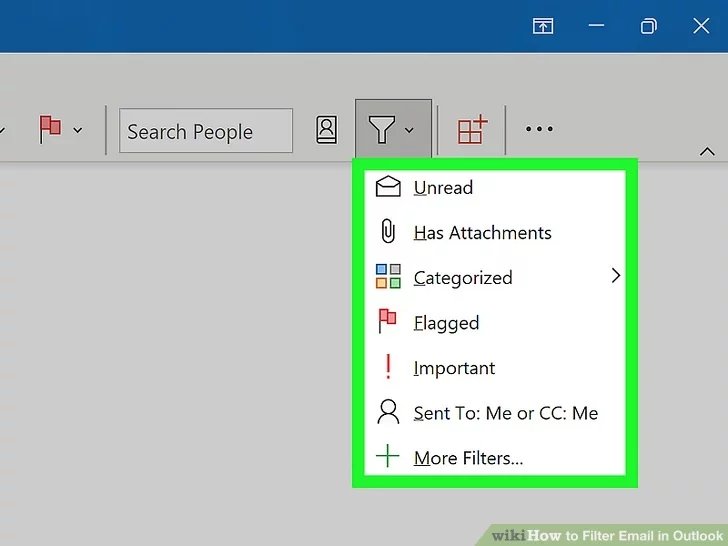
- You'll want to use this method to search or filter all your current email.
- For example, if you select "Has attachments," you will see a list of emails that have attachments (even if they are categorized into email folders that aren't the Inbox).
- To clear the filter search, click the x in the search box.[2]
How to give OneDrive access to another user
- Firstly, sign in to
 Office 365.
 - Click the
 app launcher and open “OneDrive.“
 - Once OneDrive is open, click on the
 Settings icon.
 - Click on “OneDrive settings.“
- Click on “More Settings“ on the left menu.
- Click on “Return to the old Site settings page.”
- Under “Users and Permissions,” click on “Site permissions.”
- Click “Grant Permissions.”
- Enter the name or email of the user who will get access.
- Click on “Show Options” and select the correct level of permissions.
- Finally, click on the “Share” button.
How to give OneDrive access to another user (administrator):
- First, go to your Admin center.
- Click on the
 menu icon and select “Show all” to reveal more options.
 - Then select “Sharepoint” from the list of admin centers.
- In the SharePoint Admin Center, click ⋮ “More Features” in the left menu.
- Then, click the “Open” button under the “User profiles” header.
- Click the “Manage User Profiles” link in the “People” section.
- Enter the account name in the “Find profiles” box and click the “Find” button.
- Left or right click on the account name when it appears in the list.
- Then select “Manage site collection owners” from the popup menu.
- Enter the name of whoever you’re giving access to and click “OK.”
- Head back to your Admin center.
- Click the menu icon in the Admin center’s top left corner.
- Click on “Users” to reveal more options.
- Select “Active Users” from the revealed options.
- Next, click on the name of the original OneDrive account owner.
- Click the “OneDrive” tab.
- Then click “Create link to files.”